How to select the best mushroom substrate

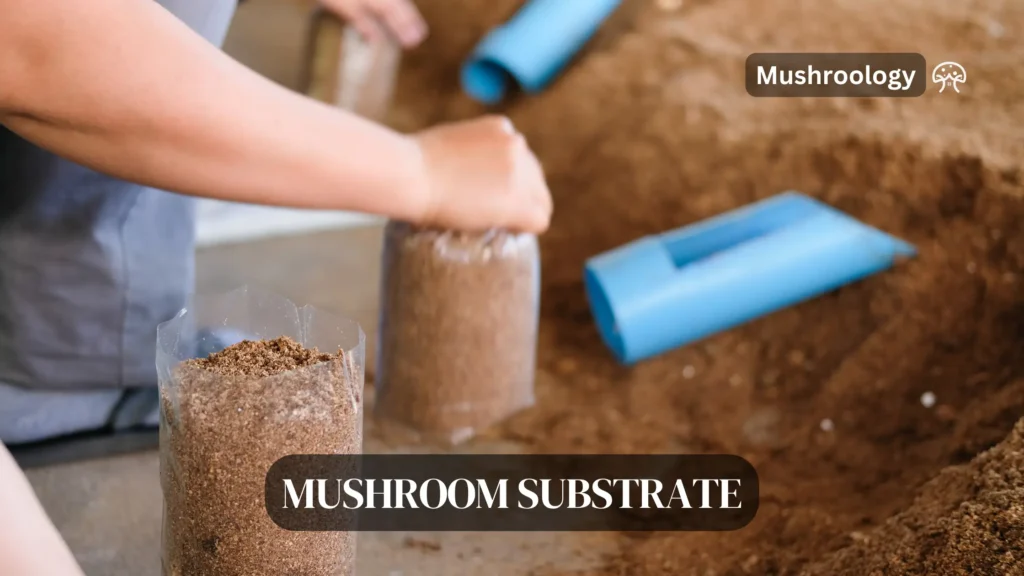
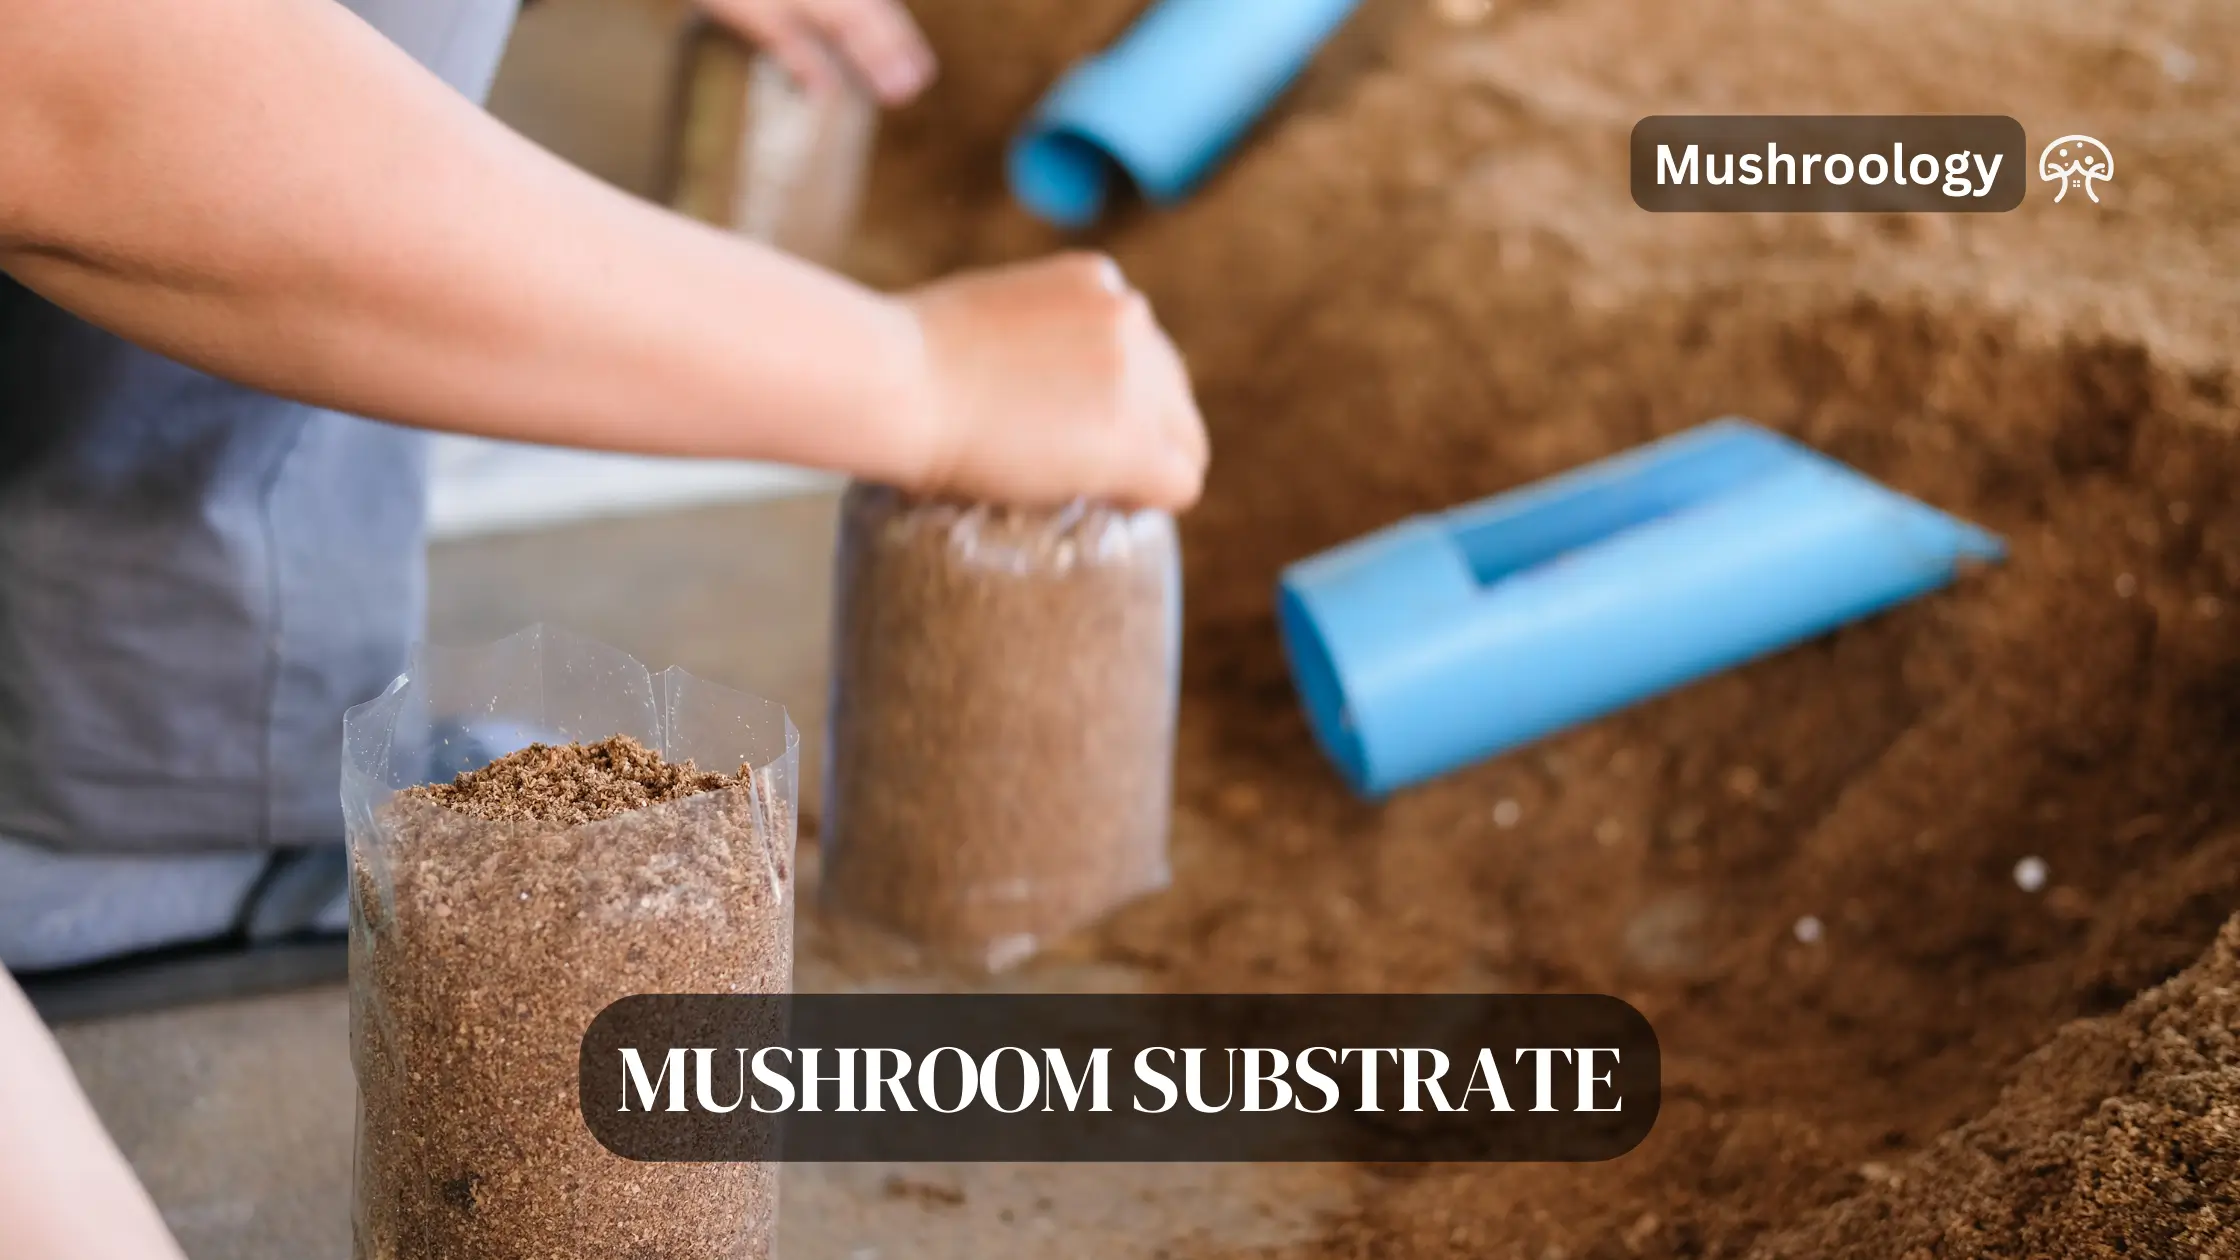
The mushroom substrate provides a medium for the mushrooms to grow on and affects their growth rate, yield, and quality. Here, we’ll explore several types of substrates used for different mushroom species and their pros and cons.

1. Straw

Straw is a popular substrate for cultivating mushrooms, especially oyster mushrooms (Pleurotus spp.) and Paddy straw mushrooms (Volvariella volvacea), due to its accessibility, affordability, and ease of use. Here’s a more detailed exploration of straw as a substrate, including its preparation, advantages, and challenges.

Composition and Preparation

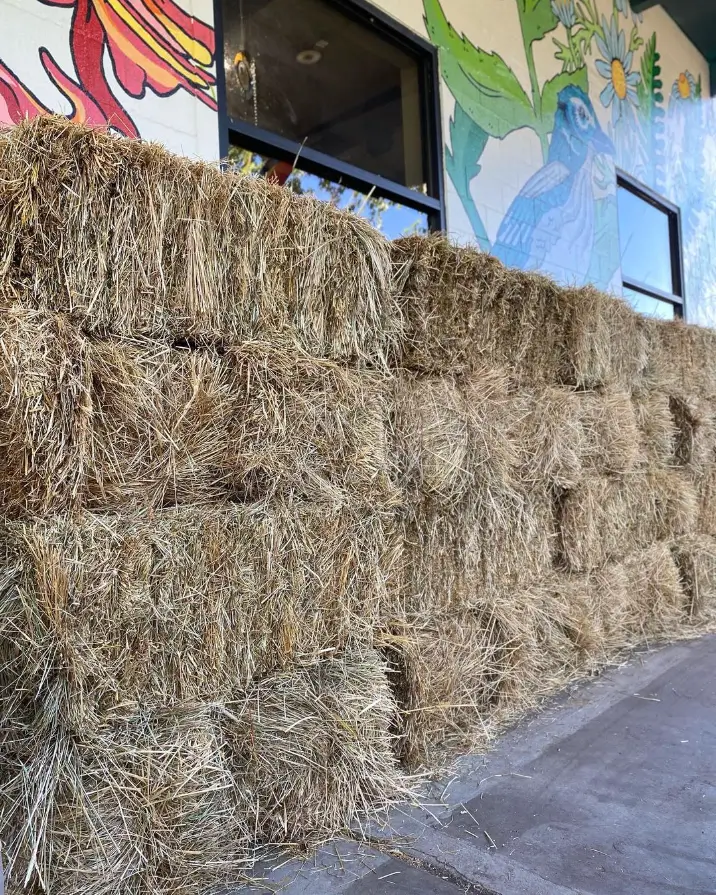
Mushroom substrates
Instagram @symbiopgardenshop

Straw is the dried stalks of cereal plants after the grain and chaff have been removed. Wheat, rice, barley, and rye straw are commonly used for mushroom cultivation. The choice of straw type can influence mushroom growth, as different straws have varying nutrient contents and physical structures.

The preparation of straw for mushroom cultivation involves several steps:

1. Chopping: Straw is typically chopped into shorter lengths (2-5 inches) to increase surface area for mycelium colonization and to make handling easier.

2. Cleaning: The straw must be cleaned to remove any dirt, seeds, or contaminants that may interfere with mushroom growth.

3. Pasteurization: This is crucial for killing off unwanted bacteria, fungi, and pests that could compete with or harm the mushroom mycelium. Pasteurization can be done through hot water immersion (60-80°C for 1-2 hours) or through chemical methods (using lime or hydrogen peroxide).

4. Draining and Cooling: After pasteurization, the straw must be drained and cooled to a suitable temperature for inoculation with mushroom spawn.

Advantages of using straw as a substrate for mushroom

  • Accessibility: Straw is widely available in many regions, especially in agricultural areas, often as a by-product of cereal grain production.
  • Cost-Effectiveness: It is relatively inexpensive compared to other substrates, making it a cost-effective option for small-scale and commercial growers.
  • Ease of Preparation: While pasteurization requires some effort, the overall process of preparing straw is straightforward.
  • Rapid Colonization: Straw’s physical structure allows for fast mycelial growth and colonization, leading to quicker production cycles.

Challenges and Considerations of using straw as a substrate for mushroom:

  • Nutritional Content: Straw is primarily composed of cellulose and lignin, with limited nutrients. This can result in lower yields unless the straw is supplemented with additional nutrients, such as nitrogen sources.
  • Contamination Risk: If not properly pasteurized, straw can be prone to contamination by competing molds and bacteria.
  • Decomposition: As an organic material, straw will decompose over time, which can affect the duration of the production cycle and may require more frequent substrate changes compared to other materials.
  • Environmental Impact: Depending on the source, the use of straw could have environmental implications, including the sustainability of its production and transportation.

Tips for Success

  • Experiment with different types of straw to find the one that works best for the specific mushroom species being cultivated.
  • Consider supplementing straw with additional nutrients to enhance yields; common supplements include bran, gypsum, or commercial mushroom supplements.
  • Maintain optimal moisture content (around 65-75%) throughout the growing cycle, as straw can dry out or become overly wet, both of which can negatively impact mushroom growth.

In summary, straw is a versatile and widely used substrate in mushroom cultivation, offering many benefits but also presenting some challenges. Proper preparation and management of straw can lead to successful and productive mushroom crops.

2. Wood Logs or Sawdust

Wood logs and sawdust are foundational substrates in mushroom cultivation, particularly favored for species that naturally grow on wood, such as Shiitake (Lentinula edodes), Maitake (Grifola frondosa), Reishi (Ganoderma lucidum), and various types of Oyster mushrooms (Pleurotus spp.). This preference stems from these substrates’ ability to mimic the natural growing conditions of these fungi.

Types and Selection

1. Wood Logs: Hardwood logs are commonly used for species like Shiitake and Maitake. The type of wood is crucial; oak, beech, maple, and alder are among the preferred choices due to their density and nutrient content. The logs should be fresh (cut within the past few weeks) and free from mold and decay.

2. Sawdust: Fine wood particles are often used either alone or combined with other materials (like bran or gypsum) to enhance nutritional content. Sawdust from hardwoods is preferred, and it’s often compressed into pellets or blocks for easier handling and inoculation.

Preparation

  • Wood Logs: Preparation involves selecting the right diameter (usually 4-8 inches) and length (typically 3-4 feet) for the logs. The logs are then sterilized naturally by letting them rest for a few weeks before inoculation to reduce native microbial competition.
  • Sawdust: Sawdust substrates often need to be sterilized or pasteurized to eliminate competing microorganisms. This is typically done through steam sterilization. Supplements like wheat bran can be mixed in before sterilization to increase the nutrient profile. The moisture content must be carefully controlled to ensure optimal growth conditions.

Advantages

  • Natural Environment: Both substrates closely replicate the mushrooms’ natural growing conditions, promoting healthier and potentially more nutritious fungi.
  • Long-term Use: Wood logs can produce mushrooms for several years after being inoculated, offering a prolonged yield compared to other substrates.
  • Versatility: Sawdust can be easily mixed with supplements and used in various container types, providing flexibility in cultivation methods.

Challenges

  • Preparation and Maintenance: The preparation of logs and sawdust, especially the sterilization process, can be labor-intensive and require specific equipment.
  • Slow Colonization: Wood logs have a longer colonization period, often several months to a year, delaying the initial harvest.
  • Space Requirements: Logs, in particular, require significant space for storage during colonization and fruiting, which might be a limitation for small-scale growers.
  • Moisture Management: Maintaining the right moisture level in sawdust substrates is crucial and can be challenging; too dry or too wet conditions can adversely affect mycelium growth.

Tips for Success

  • Species Selection: Match the wood type with the mushroom species for optimal growth. Some species have specific preferences that can significantly impact yield and health.
  • Monitoring: Regularly monitor the moisture content and signs of contamination throughout the cultivation process. Adjust environmental conditions as needed to support healthy mycelium development.
  • Inoculation Technique: For logs, consider using plug spawn for easier handling and more uniform colonization. For sawdust, grain spawn often provides rapid and even colonization.

Wood logs and sawdust offer a sustainable and effective way to cultivate a variety of mushrooms, mirroring their natural habitats and supporting robust growth. Despite the challenges, with proper preparation and maintenance, these substrates can yield substantial and repeated harvests, making them a popular choice among both amateur and commercial mushroom growers.

3. Compost

Compost is an excellent substrate for cultivating certain types of mushrooms, most notably button mushrooms (Agaricus bisporus), including its variants such as Portobello and Cremini mushrooms. Compost is highly nutritious, providing a rich environment that supports vigorous mushroom growth.

Composition and Preparation

Compost for mushroom cultivation is typically made from a mixture of agricultural wastes, such as straw, hay, poultry manure, horse manure, and sometimes gypsum. The composition may vary based on availability, cost, and specific mushroom requirements. The preparation process involves several stages:

  1. Initial Mixing and Wetting: Ingredients are mixed and moistened to initiate microbial activity, which starts the composting process.
  2. Thermophilic Composting: The compost pile heats up due to microbial activity, reaching temperatures high enough (55-70°C) to kill weed seeds and harmful pathogens. This phase lasts for several weeks and may require turning the pile to ensure even composting.
  3. Conditioning: After the active composting phase, the material is conditioned to lower ammonia levels and achieve the right balance of nutrients. This can involve additional turning and sometimes the addition of water or other materials to adjust the compost’s properties.
  4. Pasteurization: The final step before the compost is used for mushroom cultivation involves pasteurizing it to kill any remaining pests, pathogens, and weed seeds. This can be done through thermal treatment (heating at 58-60°C for several hours).

Advantages of Using Compost

  • Nutrient-Rich: Compost provides a dense nutrient environment, which supports robust mushroom growth and potentially higher yields.
  • Utilization of Waste Products: The use of agricultural by-products in composting contributes to a more sustainable and environmentally friendly mushroom cultivation process.
  • Adaptability: Compost can be tailored to meet the specific nutritional needs of different mushroom species, though it’s most commonly associated with Agaricus spp.

Challenges

  • Complex Preparation: The composting process is labor-intensive and requires careful management to achieve the desired outcome. Incorrect compost preparation can lead to poor mushroom growth or failure.
  • Disease and Pest Management: While pasteurization helps, compost can still be susceptible to pests and diseases, requiring vigilant monitoring and management.
  • Environmental Control: Maintaining the correct environmental conditions (temperature, humidity, and CO2 levels) is crucial during the mushroom growing phase. Compost’s rich nutrient content can sometimes lead to excessive heat production, which must be managed.

Tips for Success

  • Quality Control: Regularly monitor the composting process, including temperature and moisture levels, to ensure the development of high-quality compost.
  • Environmental Management: Implement precise control over the growing environment to maximize mushroom yield and quality.
  • Hygiene Practices: Maintain high standards of cleanliness and hygiene throughout the cultivation process to minimize the risk of contamination and disease.

Compost provides a dynamic and nutrient-rich medium for mushroom cultivation, particularly suited to species that thrive in rich, organic environments. Despite the challenges associated with its preparation and management, the benefits of using compost, including the potential for higher yields and sustainable use of agricultural by-products, make it a valuable substrate for mushroom growers.

4. Manure

Manure, particularly horse and chicken manure, is a traditional and widely used substrate in mushroom cultivation, especially for growing button mushrooms (Agaricus bisporus) and some speciality mushrooms.

Manure provides a rich nutrient base that supports the vigorous growth of mushrooms, but it requires careful handling and preparation to be effective and safe.

Characteristics and Selection

Horse Manure: Horse manure is often preferred for mushroom cultivation due to its fibrous nature and good water-holding capacity. It is usually mixed with straw and other organic materials to create a balanced substrate. The fibrous content helps in maintaining the structure and aeration of the substrate, which is crucial for mycelial growth.

Chicken Manure: Chicken manure is richer in nitrogen compared to horse manure, making it a potent addition to mushroom substrates. However, due to its high nutrient content, it is usually used in smaller proportions to avoid “burning” the mycelium or creating excessively rich conditions that could favor the growth of competitors or pathogens.

Preparation

The preparation of manure for mushroom cultivation involves several steps to ensure that it is safe and conducive for mushroom growth:

1. Composting: Raw manure is composted to initiate microbial breakdown of organic matter, reduce harmful pathogens, and stabilize nutrient levels. This process typically involves piling the manure, possibly mixing it with straw or other carbon sources, and allowing it to compost over a period of weeks. The pile may need to be turned periodically to ensure even composting.

2. Pasteurization: After composting, the manure-based substrate is pasteurized to kill off any remaining harmful microorganisms and pests. Pasteurization involves heating the substrate to a specific temperature (usually around 60-70°C) for several hours.

3. Conditioning: Following pasteurization, the substrate is allowed to cool and may undergo further conditioning to adjust moisture content and ensure it is in the optimal state for inoculation with mushroom spawn.

Advantages

  • Rich Nutrient Content: Manure provides a high level of nutrients, which can support dense mushroom growth and potentially high yields.
  • Waste Recycling: Utilizing manure as a substrate contributes to recycling agricultural waste products, turning them into valuable food products.

Challenges

  • Pathogen Risk: Manure can harbor pathogens and pests; thus, thorough composting and pasteurization are critical to render it safe for mushroom cultivation.
  • Odor and Handling: The preparation and handling of manure can be unpleasant due to the odor and potential health risks associated with raw manure. Proper equipment and facilities are necessary to manage these issues.
  • Balancing Nutrient Levels: The high nutrient content, especially in chicken manure, must be carefully balanced to avoid harming the mushroom mycelium.

Tips for Success

  • Proper Preparation: Invest time in properly composting and pasteurizing the manure to reduce risks and improve substrate quality.
  • Environmental Control: Maintain optimal growing conditions (temperature, humidity, CO2 levels) to maximize the benefits of the nutrient-rich substrate.
  • Mixing Substrates: Consider mixing manure with other substrates like straw or coco coir to balance nutrient levels and improve the physical structure of the substrate.

Manure, as a substrate, offers significant advantages for mushroom cultivation, especially when it comes to nutrient availability. However, its effective use requires careful management of the preparation process and ongoing conditions to mitigate risks and optimize mushroom growth. With the right approach, manure can be a key component of a successful mushroom cultivation operation.

5. Coffee Grounds

Coffee grounds have gained popularity as a substrate for mushroom cultivation, especially for oyster mushrooms (Pleurotus spp.), due to their nutrient content, availability, and sustainability.

Used coffee grounds are a waste product of coffee consumption that can be repurposed into a valuable resource for growing mushrooms. This detailed examination covers the aspects of using coffee grounds as a substrate, including its characteristics, preparation, advantages, and challenges.

Characteristics

  • Nutrient Composition: Coffee grounds are rich in nitrogen, making them an excellent food source for mushrooms. They also contain other essential nutrients and minerals that can support mushroom growth.
  • Physical Properties: They have a fine, granular texture that can compact easily. This requires careful management to ensure proper aeration and moisture levels within the substrate.

Preparation

  1. Collection and Storage: Used coffee grounds should be collected in a clean manner and stored properly to prevent mold growth. They can spoil or grow mold if left wet and not used promptly.
  2. Sterilization: While coffee grounds are somewhat pasteurized during the brewing process, they can still benefit from additional sterilization or pasteurization to reduce the risk of contamination from competing molds and bacteria when used for mushroom cultivation.
  3. Supplementation: To improve yields and balance the nutrient profile, coffee grounds can be mixed with other substrates like straw or supplemented with materials such as wheat bran.
  4. Moisture Adjustment: The moisture content of the coffee grounds needs to be adjusted to the optimal level for mushroom growth, typically around 60-70%.

Advantages

  • Sustainability: Utilizing waste coffee grounds for mushroom cultivation is an excellent example of recycling and reducing waste.
  • Cost-Effective: For individuals and businesses that produce or have access to large amounts of used coffee grounds, this substrate can be very cost-effective.
  • Availability: Coffee grounds are readily available from coffee shops, restaurants, and even home brewing, making them accessible for small-scale and hobbyist growers.

Challenges

  • Contamination Risk: Coffee grounds are susceptible to contamination if not properly handled and sterilized, as their nutrient-rich nature can support a wide range of microbial life.
  • Physical Structure: The tendency of coffee grounds to compact can limit air exchange, which is critical for mycelial growth. This can be mitigated by mixing with other substrates or using them in layers.
  • Nutrient Imbalance: While rich in nitrogen, coffee grounds may lack other nutrients necessary for optimal mushroom development. Supplementation or blending with other substrates can address this issue.

Tips for Success

  • Blend with Other Substrates: Mixing coffee grounds with straw or sawdust can improve the physical structure and nutrient balance of the substrate.
  • Monitor Moisture Levels: Due to their fine texture, coffee grounds can either dry out quickly or retain too much moisture. It’s essential to maintain optimal moisture levels throughout the cultivation process.
  • Use Freshly Spent Grounds: To minimize contamination risk, use coffee grounds soon after they’re generated, or ensure they are properly stored and possibly pasteurized before use.

Coffee grounds offer a unique and sustainable option for mushroom cultivation, particularly appealing for urban growers and those looking to recycle waste products effectively.

6. Coconut Coir

Coconut coir, a natural fiber extracted from the husk of coconuts, is increasingly used as a substrate in mushroom cultivation, especially for varieties like oyster mushrooms (Pleurotus spp.) and button mushrooms (Agaricus bisporus).

Its sustainability, water retention capabilities, and resistance to pests and pathogens make it an attractive option for growers.

Characteristics

Physical Properties: Coconut coir is lightweight, has excellent water retention capabilities, and provides good aeration. Its fibrous texture helps prevent compaction, allowing for better air exchange crucial for mycelium growth.

Nutritional Content: While coconut coir is not particularly nutrient-rich compared to other substrates like manure or compost, it provides a clean and stable environment for mushroom cultivation. Its primary role is structural, supporting mycelial growth through physical properties rather than nutritional content.

Preparation

1. Hydration: Coconut coir is often sold in a dehydrated, compressed form and needs to be rehydrated before use. This is typically done by soaking the coir in water until it expands and becomes moist and fluffy.

2. Sterilization: Although coconut coir is less prone to bacterial and fungal contamination than other substrates, sterilization or pasteurization may still be necessary, especially when mixed with more nutrient-rich supplements.

3. Supplementation: To enhance yields, coconut coir can be supplemented with nutrient-rich materials such as spent coffee grounds, straw, or commercial mushroom supplements. This compensates for its low natural nutrient content.

4. pH Adjustment: The natural pH of coconut coir is slightly acidic to neutral, which is suitable for most mushrooms. However, some growers adjust the pH to match the specific requirements of their cultivated mushroom species.

How to pasteurize coco coir?

Pasteurizing coco coir is an essential step to ensure it is free from harmful pathogens, bacteria, and fungi before using it as a growing medium. Here are several methods to pasteurize coco coir:

Chemical Sterilization

1. Bleach Method:

  • Mix a teaspoon of bleach for every liter of water.
  • Soak the coco coir in the bleach solution for at least half an hour, ensuring all parts are exposed by stirring.
  • Drain and rinse the coco coir thoroughly with water to remove any residual bleach.

2. Potassium Permanganate Method:

  • Soak the coco coir in water for 10 minutes.
  • Mix 1 tablespoon of potassium permanganate per 4 liters of water.
  • Boil the mixture for 5 minutes.
  • Drain, rinse, and reuse the coco coir.

3. Hydrogen Peroxide Method:

  • Fill a bucket with water and mix in hydrogen peroxide until it is completely dissolved.
  • Soak the coco coir in the solution for 24 hours to ensure sterilization.

    Heat Sterilization

    1. Oven Heating:
      • Preheat the oven to 80°C (176°F).
      • Place the coco coir in an oven-safe container and heat it for 30 minutes to kill pathogens and harmful fungi.
    2. Sun Bathing:
      • On a clear, hot day, place a clear tarp over moistened coco coir.
      • Ensure the temperature under the tarp reaches 65°C (149°F) for at least half an hour.

    Pasteurization Techniques

    1. Bucket Tek:
      • Boil water to 160-180°F (71-82°C).
      • Place a brick of coco coir in a bucket and pour the boiling water over it.
      • Cover the bucket with a lid and let it sit for 1-2 hours.
      • Ensure the coco coir reaches field capacity by squeezing out excess water.
    2. Water Bath:
      • Place coco coir in a large glass jar.
      • Set the jar inside a larger pot of water heated to 160-180°F (71-82°C).
      • Maintain this temperature for at least an hour, monitoring for consistent temperature and evaporation.
    3. Microwave Method:
      • Moisten the coco coir before placing it in the microwave.
      • Heat it in the microwave, ensuring it stays at a consistent temperature, though this method is less preferred due to difficulty in maintaining consistent heat.

    Advantages

    • Sustainability: Coconut coir is a renewable, biodegradable by-product of the coconut industry, making it an environmentally friendly choice.
    • Disease Resistance: It has natural resistance to certain pathogens and pests, reducing the risk of contamination and disease.
    • Water Retention: Its excellent water retention capabilities help maintain consistent moisture levels, crucial for mushroom growth, without becoming waterlogged.
    • Ease of Use: Lightweight and easy to handle, especially once rehydrated, coconut coir is user-friendly for both amateur and commercial growers.

    Challenges

    • Nutrient Deficiency: Its low nutrient content means that supplementation may be necessary to achieve optimal mushroom growth and yields.
    • Cost: Depending on location and availability, coconut coir can be more expensive than local substrates like straw or wood chips.
    • Quality Variation: The quality of coconut coir can vary depending on the source and processing method, potentially affecting its performance as a mushroom substrate.

    Tips for Success

    • Proper Hydration: Ensure the coir is fully rehydrated and at the correct moisture content before use to maximize its benefits.
    • Balanced Supplementation: If supplementing, aim for a balance that enhances the nutrient profile without compromising the physical benefits of the coir.
    • Environmental Control: Maintain optimal growing conditions for your specific mushroom species, as the substrate alone cannot compensate for inadequate temperature, humidity, or ventilation.

    Coconut coir’s sustainability, disease resistance, and excellent water retention make it a compelling substrate for mushroom cultivation, particularly when its limitations are properly addressed. By combining coconut coir with suitable supplements and maintaining optimal growing conditions, growers can leverage this versatile substrate to produce healthy and abundant mushroom crops.

    7. Grain (Rye, Wheat, Millet)

    Grain substrates, such as rye, wheat, millet, and others, are extensively used in mushroom cultivation, primarily for producing spawn.

    Grain offers a nutritious and easily colonizable medium for the initial growth of mycelium, which can then be used to inoculate bulk substrates like straw, sawdust, or compost for larger-scale mushroom production.

    Characteristics

    Nutritional Content: Grains are rich in carbohydrates and contain a moderate amount of protein and other nutrients, making them an excellent food source for developing mycelium.

    Physical Properties: The size and texture of grains provide an ideal surface area for mycelial attachment and colonization. The spaces between grains also facilitate aeration and moisture retention.

    Preparation

    1. Selection and Cleaning: It’s crucial to start with high-quality grains that are free from mold and pests. The grains should be thoroughly cleaned to remove dust and debris.
    2. Soaking and Boiling: Grains are usually soaked in water for a period (often overnight) to hydrate them. This is followed by boiling or simmering to soften the grains further and to start the sterilization process.
    3. Draining and Drying: After cooking, the grains need to be drained well to remove excess water. They should be spread out to dry slightly, ensuring that they are not too wet, which could lead to bacterial growth or too dry, which could inhibit mycelium growth.
    4. Sterilization: The prepared grains are then loaded into jars or bags and sterilized in a pressure cooker or autoclave at 15 psi for 90-120 minutes. This step is critical to eliminate any competing microorganisms.
    5. Inoculation: Once cooled, the sterilized grains are inoculated with mushroom spores or mycelium under sterile conditions to avoid contamination.

    Advantages

    • Rapid Colonization: The rich nutrient content and physical structure of grains support fast and vigorous mycelium growth.
    • Versatility: Grain spawn can be used to inoculate a wide variety of bulk substrates, making it a versatile choice for different types of mushroom cultivation.
    • Scalability: Starting with grain spawn allows for scaling up production efficiently, as a small amount of spawn can inoculate a large volume of bulk substrate.

    Challenges

    • Contamination Risk: Grains are highly susceptible to contamination due to their rich nutrient content. Sterile technique and proper sterilization are imperative.
    • Moisture Content Management: Achieving and maintaining the correct moisture level in grains is challenging but crucial. Too much moisture can lead to bacterial growth, while too little can prevent mycelium from colonizing the substrate.
    • Cost and Labor: While grains may not be expensive, preparing and sterilizing grains is labour-intensive and requires specialized equipment, such as a pressure cooker or autoclave.

    Tips for Success

    • Quality Control: Use high-quality grains and follow strict sterilization protocols to minimize contamination risk.
    • Moisture Management: Perfect the process of preparing grains to achieve the optimal moisture content, enhancing mycelium growth and reducing the risk of contamination.
    • Environmental Conditions: After inoculation, store grain spawn in conditions that favour mycelium growth—typically in a dark place at a temperature suitable for the specific mushroom species being cultivated.

    Grain substrates play a crucial role in mushroom cultivation, especially in the early stages of spawn production. While the process requires careful attention to detail and strict adherence to sterilization protocols, the use of grains can lead to highly efficient and productive mushroom cultivation when done correctly.

    Each substrate has its specific applications and requires different preparation methods, such as pasteurization or sterilization, to minimize contamination. The choice of substrate often depends on the mushroom species, available resources, and the grower’s experience level. Experimentation and adaptation to local conditions are key to successful mushroom cultivation.

    Floris - Author of Mushroology.com

    Floris - Author of Mushroology.com

    Passionate mushroom hunter and grower. I am fortunate to have learned from some of the best mushroom experts in the field! When I’m not writing mushroom articles, I can usually be found hiking and identifying native mushrooms in different parts of the world.

    Related Posts

    How to Grow Poplar Mushrooms at Home

    How to Grow Poplar Mushrooms at Home

    The Poplar Mushroom, or Pioppino or Black Poplar Mushroom, is the edible fungus Agrocybe aegerita. This delicious mushroom has a unique sweet, nutty flavour and meaty texture. Poplar Mushrooms typically grow on dead hardwood trees and stumps in the wild. However, they...

    Tremella Fuciformis Benefits: Nature’s Beauty Secret

    Tremella Fuciformis Benefits: Nature’s Beauty Secret

    Key Takeaways:  Tremella mushrooms offer potent skin-hydrating properties These fungi may boost immune function and brain health Tremella is rich in antioxidants and anti-inflammatory compounds The mushroom has potential anti-aging and beauty-enhancing effects...

    Floris - Author of Mushroology.com

    Floris - Author of Mushroology.com

    Passionate mushroom hunter and grower. I am fortunate to have learned from some of the best mushroom experts in the field! When I’m not writing mushroom articles, I can usually be found hiking and identifying native mushrooms in different parts of the world.