Cordyceps mushrooms have been making waves in the health and wellness community, and for good reason. These fascinating fungi are packed with potential benefits, from boosting energy levels to supporting immune function. But why settle for store-bought supplements when you can grow your own? Let’s dive into the wonderful world of Cordyceps and learn how to cultivate these powerhouse mushrooms right in your own home.
What are cordyceps mushrooms?
C. sinensis (now classified as Ophiocordyceps sinensis) is native to alpine meadows above 3,000–5,000 m elevation and infects ghost moth larvae in the soil .
In traditional Chinese and Tibetan medicine it’s called Dong Chong Xia Cao (“winter worm, summer grass”) and has been used as a restorative and even as an aphrodisiac. Wild Cordyceps sinensis is exceedingly scarce and expensive – often selling for upwards of $20,000 per kilogram due to high demand and limited supply.
Its legendary status (including a famous instance where Chinese athletes in 1993 credited it for record-breaking performances) has driven interest in cultivating it and its alternatives.
By contrast, Cordyceps militaris (sometimes called the scarlet caterpillar club) is found in more temperate regions and is easier to grow in captivity. C. militaris has long been used in East Asian herbal medicine as well, containing many of the same beneficial compounds.
Unlike C. sinensis, the militaris species can be readily cultivated on artificial substrates, allowing today’s growers to produce Cordyceps mushrooms without having to harvest wild specimens.
For home cultivation, we’ll focus on Cordyceps militaris, which offers similar benefits but is much more forgiving for beginners.
The Cordyceps Lifecycle: From Caterpillar to Super-Shroom
In the wild, Cordyceps have a rather unusual lifecycle. They start as spores that infect certain species of caterpillars, eventually taking over the insect’s body and sprouting a fruiting body from its head. Don’t worry, though – we won’t be using any caterpillars in our home cultivation!
While this might sound like something out of a sci-fi movie, it’s just nature doing its thing. This unique lifecycle has led to Cordyceps being highly prized in traditional medicine for centuries, particularly in Tibet and China.
Health Benefits of Cordyceps Mushrooms that’ll make you a Cordyceps convert
Before we dive into growing instructions, let’s look at why these mushrooms are worth your time and effort. Research suggests cordyceps may offer several health benefits:
- Energy and stamina boost – Many people report increased energy after taking cordyceps supplements
- Immune system support – Cordyceps contain compounds that may enhance immune function
- Athletic performance enhancement – Some studies suggest cordyceps might improve oxygen utilization
- Antioxidant properties – These mushrooms contain powerful antioxidants that fight free radicals
- Potential anti-aging effects – Early research indicates possible anti-aging properties
While more research is needed to fully confirm these benefits, cordyceps have been used in traditional medicine for centuries, particularly in Tibet and China.
Getting started: Set up your Cordyceps Cultivation Space
Alright, now that we’re all fired up about Cordyceps, let’s talk about setting up your grow space. Don’t worry – you don’t need a state-of-the-art laboratory to get started. A clean, dedicated area in your home will do just fine.
Essential Equipment for growing Cordyceps mushrooms
Here’s what you’ll need to get started on your Cordyceps cultivation journey:
- Pressure cooker or autoclave: This is crucial for sterilizing your substrate and equipment.
- Glass jars or grow bags: These will house your growing Cordyceps.
- Substrate materials: We’ll get into the specifics later, but think brown rice, grains, or specialized Cordyceps substrates.
- Cordyceps spawn or liquid culture: This is your “seed” material.
- Isopropyl alcohol (70%): For sterilizing your workspace and tools.
- Gloves and face mask: Keeping things clean is key!
- HEPA air filter: Optional, but helpful for reducing airborne contaminants.
- Thermometer and hygrometer: To monitor temperature and humidity.
- Grow tent or dedicated growing space: To maintain optimal conditions.
You don’t need to break the bank. Start with the basics and upgrade as you gain experience.
Create the Perfect Environment for Your Cordyceps to Thrive
Cordyceps mushrooms are a bit particular about their living conditions. Here’s what they like:
- Temperature: Aim for 20-25°C (68-77°F) during colonization, and slightly cooler (18-22°C or 64-72°F) during fruiting.
- Humidity: Keep it high! 80-90% humidity is ideal.
- Light: Indirect light is best. Cordyceps don’t need much, but a little helps with fruiting body formation.
- Air exchange: Good ventilation is important, but avoid direct drafts.
Creating this environment might take some trial and error, but don’t get discouraged. Remember, every mushroom grower was a beginner once!
Step-by-Step Cordyceps Cultivation Process
Now that we’ve got our space set up, it’s time to dive into the nitty-gritty of Cordyceps cultivation. Buckle up, because this is where the magic happens!
Step 1: Prepare your substrate
Your substrate is basically the soil for your Cordyceps, providing all the nutrients they need to grow. Here’s a simple recipe to get you started:
Basic Cordyceps Substrate:
- 2 cups brown rice
- 2 cups vermiculite
- 1.5 cups water
Mix these ingredients in your grow container. The substrate should be moist but not waterlogged – think wrung-out sponge consistency.
Step 2: Sterilize everything!
This step is crucial, folks! Contamination is the number one enemy of mushroom growers.
- Place your substrate in jars or grow bags
- Secure the lids/openings with micropore tape or filter patches
- Sterilize in a pressure cooker at 15 PSI for 90 minutes
- Allow to cool completely before handling
This sterilization kills competing organisms that could ruin your grow.
Step 3: Inoculation process
Once your substrate has cooled to room temperature, it’s time for the fun part – inoculation! In a clean environment (ideally a still air box or laminar flow hood), add your Cordyceps spawn or liquid culture to the substrate. Aim for about 10% spawn-to-substrate ratio.
Step 4: Colonization
Place your inoculated containers in a warm, dark place and wait patiently.
- Ideal temperature: 68-77°F (20-25°C)
- Time frame: 2-3 weeks
- Look for: White mycelium spreading through the substrate
During this time, the cordyceps mycelium will spread through the substrate, consuming nutrients and preparing to fruit.
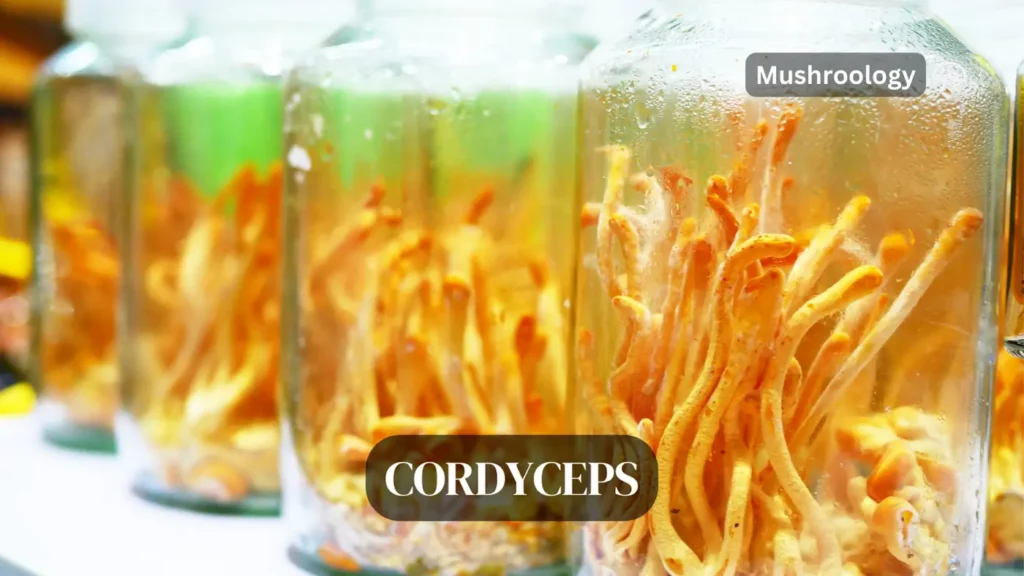
Step 5: Fruiting Stage
Once your substrate is fully colonized (completely covered in white mycelium), it’s time to trigger fruiting:
- Move containers to a slightly cooler area (64-72°F)
- Introduce indirect light (12 hours on/12 hours off)
- Increase humidity to 80-90%
- Ensure good air exchange
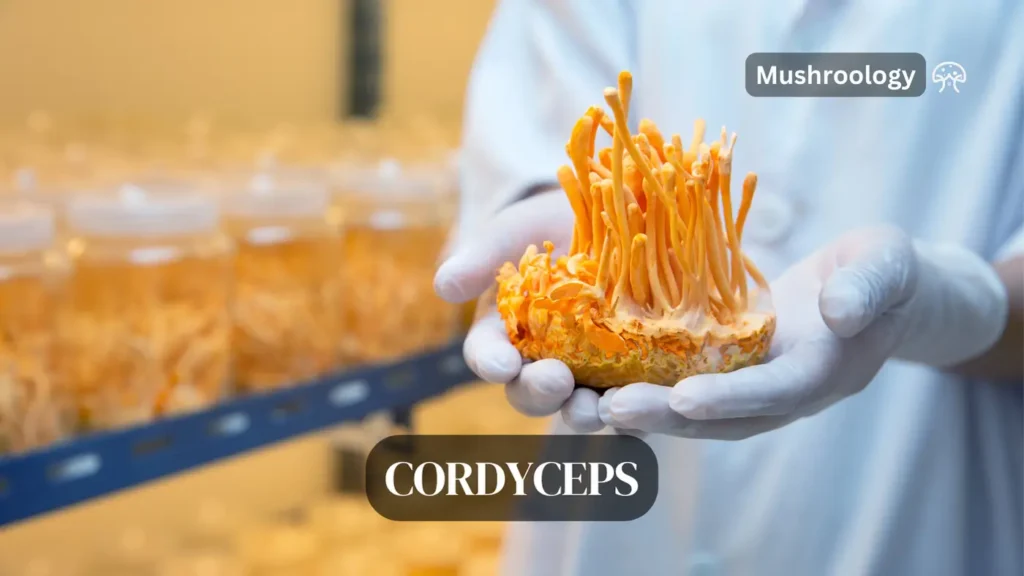
Within 1-2 weeks, you should start seeing small orange-red fruiting bodies emerging from the substrate. This is your cordyceps beginning to form!
Step 6: Harvesting Your Cordyceps
Harvest time is the most rewarding part of the process. Harvest when:
- Fruiting bodies are 3-6 cm long
- Before they start producing spores
- When they have a bright orange-red color
To harvest, gently twist and pull the fruiting bodies from the substrate. Handle with care to avoid damaging them.
Step 7: Drying and Storage
Proper drying preserves both the potency and shelf life of your cordyceps:
- Dry at a low temperature (around 95°F/35°C) until cracker-dry
- Store in airtight containers with desiccant packets
- Keep in a cool, dark place
Properly dried and stored cordyceps can last for up to a year without losing potency.
Making the Most of Your Cordyceps
There are many ways to enjoy your homegrown Cordyceps:
- Make a tea by steeping dried Cordyceps in hot water
- Add powdered Cordyceps to smoothies or coffee
- Incorporate them into soups or broths
- Try your hand at making your own Cordyceps tincture
Remember, while Cordyceps are generally considered safe, it’s always a good idea to start with small amounts and consult with a healthcare professional, especially if you have any pre-existing conditions.
Troubleshooting: When Things Don’t Go According to Plan
Even experienced growers face challenges sometimes. Here are some common issues and how to address them:
Contamination: The Bane of Every Mushroom Grower
If you see any unusual colors or growth, especially green or black mold, isolate the container immediately. Prevention through strict sterile techniques is key.
Slow Growth: Patience is a Virtue
Be sure your temperature and humidity levels are correct. Consider using a heating mat if your space is too cool.
No Fruiting: Give Your Cordyceps a Nudge
Sometimes, a cold shock (lowering the temperature by 5°C for 24 hours) can trigger fruiting.
Weak Fruiting Bodies: Strengthen Your Cordyceps
This often indicates insufficient light or humidity. Adjust your conditions accordingly.
Remember, every setback is a learning opportunity. Don’t get discouraged – even the most experienced growers face challenges sometimes!

Take Your Cordyceps Cultivation to the Next Level
Once you’ve mastered the basics, why not explore some advanced techniques?
Create Your Own Liquid Culture
Liquid culture can lead to faster and more consistent inoculation. It’s a bit more advanced, but definitely worth exploring once you’re comfortable with the basics.
Experiment with Different Substrates
While brown rice is a great starting point, you might want to try other grains or even specialized Cordyceps substrates. Each can bring out different characteristics in your mushrooms.
Isolate and Propagate Strong Strains
Using agar plates, you can isolate and propagate the strongest mycelium strains, potentially leading to more vigorous and productive grows.
Join the Cordyceps Community
Remember, you’re not alone on this journey. There’s a whole community of Cordyceps enthusiasts out there, ready to share knowledge and experiences. Don’t be afraid to reach out, ask questions, and share your own successes (and failures) with others.
So, what are you waiting for? Grab your pressure cooker, roll up your sleeves, and dive into the wonderful world of Cordyceps cultivation. Your homegrown health boost is just a few spores away!
Remember, every expert was once a beginner. With patience, attention to detail, and a willingness to learn, you’ll be harvesting your own Cordyceps in no time. Happy growing, and may your Cordyceps thrive!
People Also Ask:
What are the health benefits of Cordyceps mushrooms?
Cordyceps mushrooms are associated with numerous potential health benefits, including increased energy and stamina, improved immune function, enhanced athletic performance, antioxidant properties, and potential anti-aging effects. They may also support respiratory health and have anti-inflammatory properties. However, more research is needed to fully understand and confirm these benefits.
How long does it take to grow Cordyceps mushrooms at home?
The entire process of growing Cordyceps mushrooms at home typically takes about 2-3 months from start to finish. This includes about 2-3 weeks for substrate colonization, 1-2 weeks for fruiting body formation, and additional time for harvesting and drying. However, the exact timeline can vary depending on environmental conditions and the specific strain of Cordyceps being cultivated.
What is the best substrate for growing Cordyceps mushrooms?
While Cordyceps can grow on various substrates, a common and effective substrate for home cultivation is a mixture of brown rice and vermiculite. Other options include a combination of grains like millet or sorghum, or specialized Cordyceps substrates available from mycology suppliers. The key is to provide a nutrient-rich environment that can be easily sterilized to prevent contamination.
Can I grow Cordyceps sinensis at home?
Growing Cordyceps sinensis (now classified as Ophiocordyceps sinensis) at home is extremely challenging and not typically successful for home cultivators. This species has a complex lifecycle involving specific caterpillar hosts and high-altitude environmental conditions that are difficult to replicate. Instead, home growers usually cultivate Cordyceps militaris, which is easier to grow and still offers many health benefits.
How do I prevent contamination when growing Cordyceps mushrooms?
Preventing contamination is crucial in Cordyceps cultivation. Key steps include: thoroughly sterilizing all equipment and substrates, working in a clean environment (ideally using a still air box or laminar flow hood), using 70% isopropyl alcohol to sanitize surfaces and tools, wearing gloves and a face mask during inoculation, and maintaining proper temperature and humidity levels throughout the growing process. Regular monitoring for any signs of unusual growth or discoloration is also important.