Transparency Note: Some of the links below are affiliate links. However, I only recommend gear I have actually used in my own grow room.
When I first started growing mushrooms, I wasted money on gadgets I didn’t need—expensive foggers that made a mess and “automated” kits that failed.
The truth is, you don’t need a laboratory to grow Oysters or Lion’s Mane. You need a clean space and three or four reliable tools.
This guide covers the essential equipment for home growers, ranked by what you actually need to get started vs. what is a luxury upgrade.
What I Use In My Grow Room
You don’t need to start big. My current “workhorse” tools are:
- Pressure Cooker: Presto 23-Quart (22 Liter) – The industry standard.
- Fruiting Chamber: Modified 66-quart (62 Liter) storage bins (Monotubs).
- Lab Work: A homemade Still Air Box (cost me $15 to make).
Level 1: The Absolute Essentials (Start Here)
If you are just starting, do not buy a flow hood. Do not buy an autoclave. You only need these basics.
| Setup Level | Est. Cost | Best For | Key Gear Needed |
|---|---|---|---|
| Level 1: Beginner | $50 – $100 | Oyster Mushrooms, Kits | Spray Bottle, Bucket, Storage Bin |
| Level 2: Hobbyist | $150 – $250 | Medicinals (Lion’s Mane) | Pressure Cooker (23qt), Monotubs, SAB |
| Level 3: Automated | $300+ | High Yield / Consistency | Martha Tent, Humidifier, Inkbird Controller |
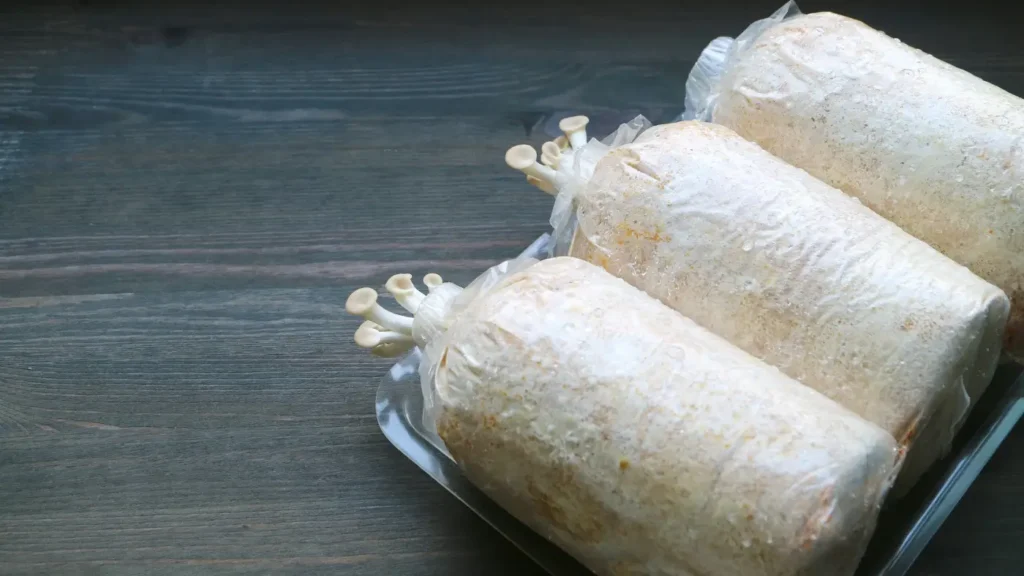
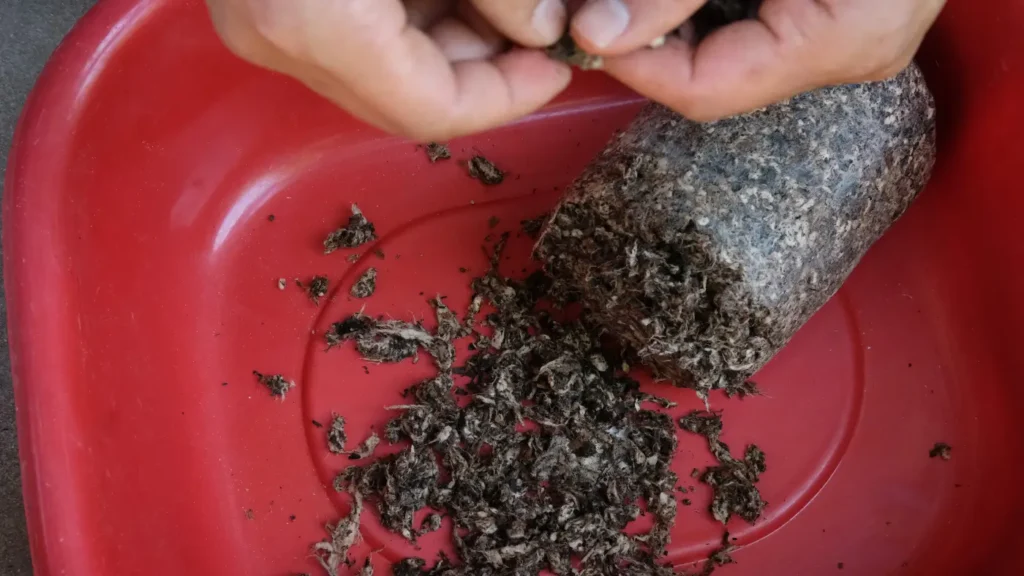
1. The Growth Medium (Substrate)
You can’t grow mushrooms on nothing.
- For Wood Lovers (Lion’s Mane, Reishi, Shiitake): They need Hardwood Sawdust.
- Floris’s Take: Don’t try to mix your own sawdust blocks yet. Buy Pre-Sterilized Fruiting Blocks. They save you the headache of sterilization while you learn the basics.
- For Oysters: They love Straw.
- Floris’s Take: You can pasteurize straw in a bucket with hot water or hydrated lime. It’s the cheapest way to start.
- For Compost Lovers (Button Mushrooms): They need composted manure.
2. The Container (The “House”)
You need to keep humidity high.
- Grow Bags: Look for “Filter Patch” bags. The filter allows the mushroom to breathe without letting mold spores in.
- Plastic Tubs (Monotubs): A standard clear storage bin (like Sterilite) works wonders.
- DIY Tip: Drill 1-inch (2.5 cm) holes along the sides and cover them with Micropore Tape or Polyfill. This allows air exchange without losing humidity.
3. Humidity Control
Mushrooms are 90% water. If they dry out, they die.
- Spray Bottle: A fine-mist hairdresser’s spray bottle is better than a standard garden sprayer. It prevents “bruising” the mycelium with heavy droplets.
- Hygrometer: A cheap digital gauge to measure humidity. Aim for 80–90% RH (Relative Humidity).
Level 2: The “Serious Hobbyist” Upgrades
This is where the real investment happens. Once you buy these tools, you are no longer dependent on buying kits—you can make everything yourself.
1. The Pressure Cooker (Non-Negotiable)
If you want to make your own grain spawn or sawdust blocks, you must sterilize them. Boiling water is not enough (it only reaches 212°F / 100°C). You need to reach 250°F (121°C) at 15 PSI (1 Bar) to effectively kill mold spores.
- The Recommendation: Presto 23-Quart (22 Liter) Induction Compatible Pressure Canner.
- Why: Do not buy the smaller 16-quart (15 Liter) versions. They are too small to fit standard spawn bags. The 23-quart fits 7 quart jars or multiple bags perfectly.
2. The Still Air Box (SAB)
You need a sterile place to inoculate your jars.
- The Myth: “I need a $1,000 Laminar Flow Hood.”
- The Reality: You can make a Still Air Box for $20. Take a large clear plastic storage bin, cut two holes for your arms, and flip it upside down.
- Crucial Tip: Do NOT attach gloves to the holes. This creates a “piston effect” that sucks dirty air in when you move your arms. Leave the holes open and move slowly.
3. Mason Jars & Lids
- Wide Mouth Quart (1 Liter) Jars: Easier to get grain cakes out of than regular mouth jars.
- Modified Lids: Drill a small hole in the metal lid and cover it with micropore tape. This is your gas exchange filter.
Level 3: The Automation Setup
1. The “Martha” Tent
Instead of using bins, you use a small 4-tier greenhouse (often sold for indoor plants).
- The Upgrade: You pipe in humidity from an ultrasonic humidifier.
- The Controller: You plug the humidifier into a humidity controller (like the Inkbird IHC-200).
- Set it and forget it: Set the Inkbird to 85%. When it drops to 80%, the humidifier kicks on. When it hits 90%, it turns off.
2. Temperature Control
Mushrooms create their own heat.
- Winter: A seedling heat mat works, but ensure it has a thermostat so you don’t cook your mycelium.
- Summer: This is harder. You may need a portable AC unit if your room gets above 80°F (27°C), as high heat invites bacterial contamination.
Summary Checklist: What to Buy First?
If I had to start over with $150, here is exactly what I would buy:
- Presto 23qt (22L) Pressure Cooker ($100 – used or on sale)
- 10x Wide Mouth Quart (1L) Mason Jars ($15)
- Rye Berries or Oats (Feed store, $15 for 50lbs/22kg)
- Coco Coir Bricks ($10)
- Plastic Storage Bin (SAB) ($10)
Everything else (flow hoods, autoclaves, commercial fridges) can wait until you are selling mushrooms for profit.
Looking for Commercial Equipment?
If you are planning to build a commercial farm with walk-in fridges and industrial autoclaves, check out my upcoming guide: [The Guide to Commercial Mushroom Farming Equipment] (Coming Soon).
Ready to start growing?
Check out my guide on Best Mushroom Substrate